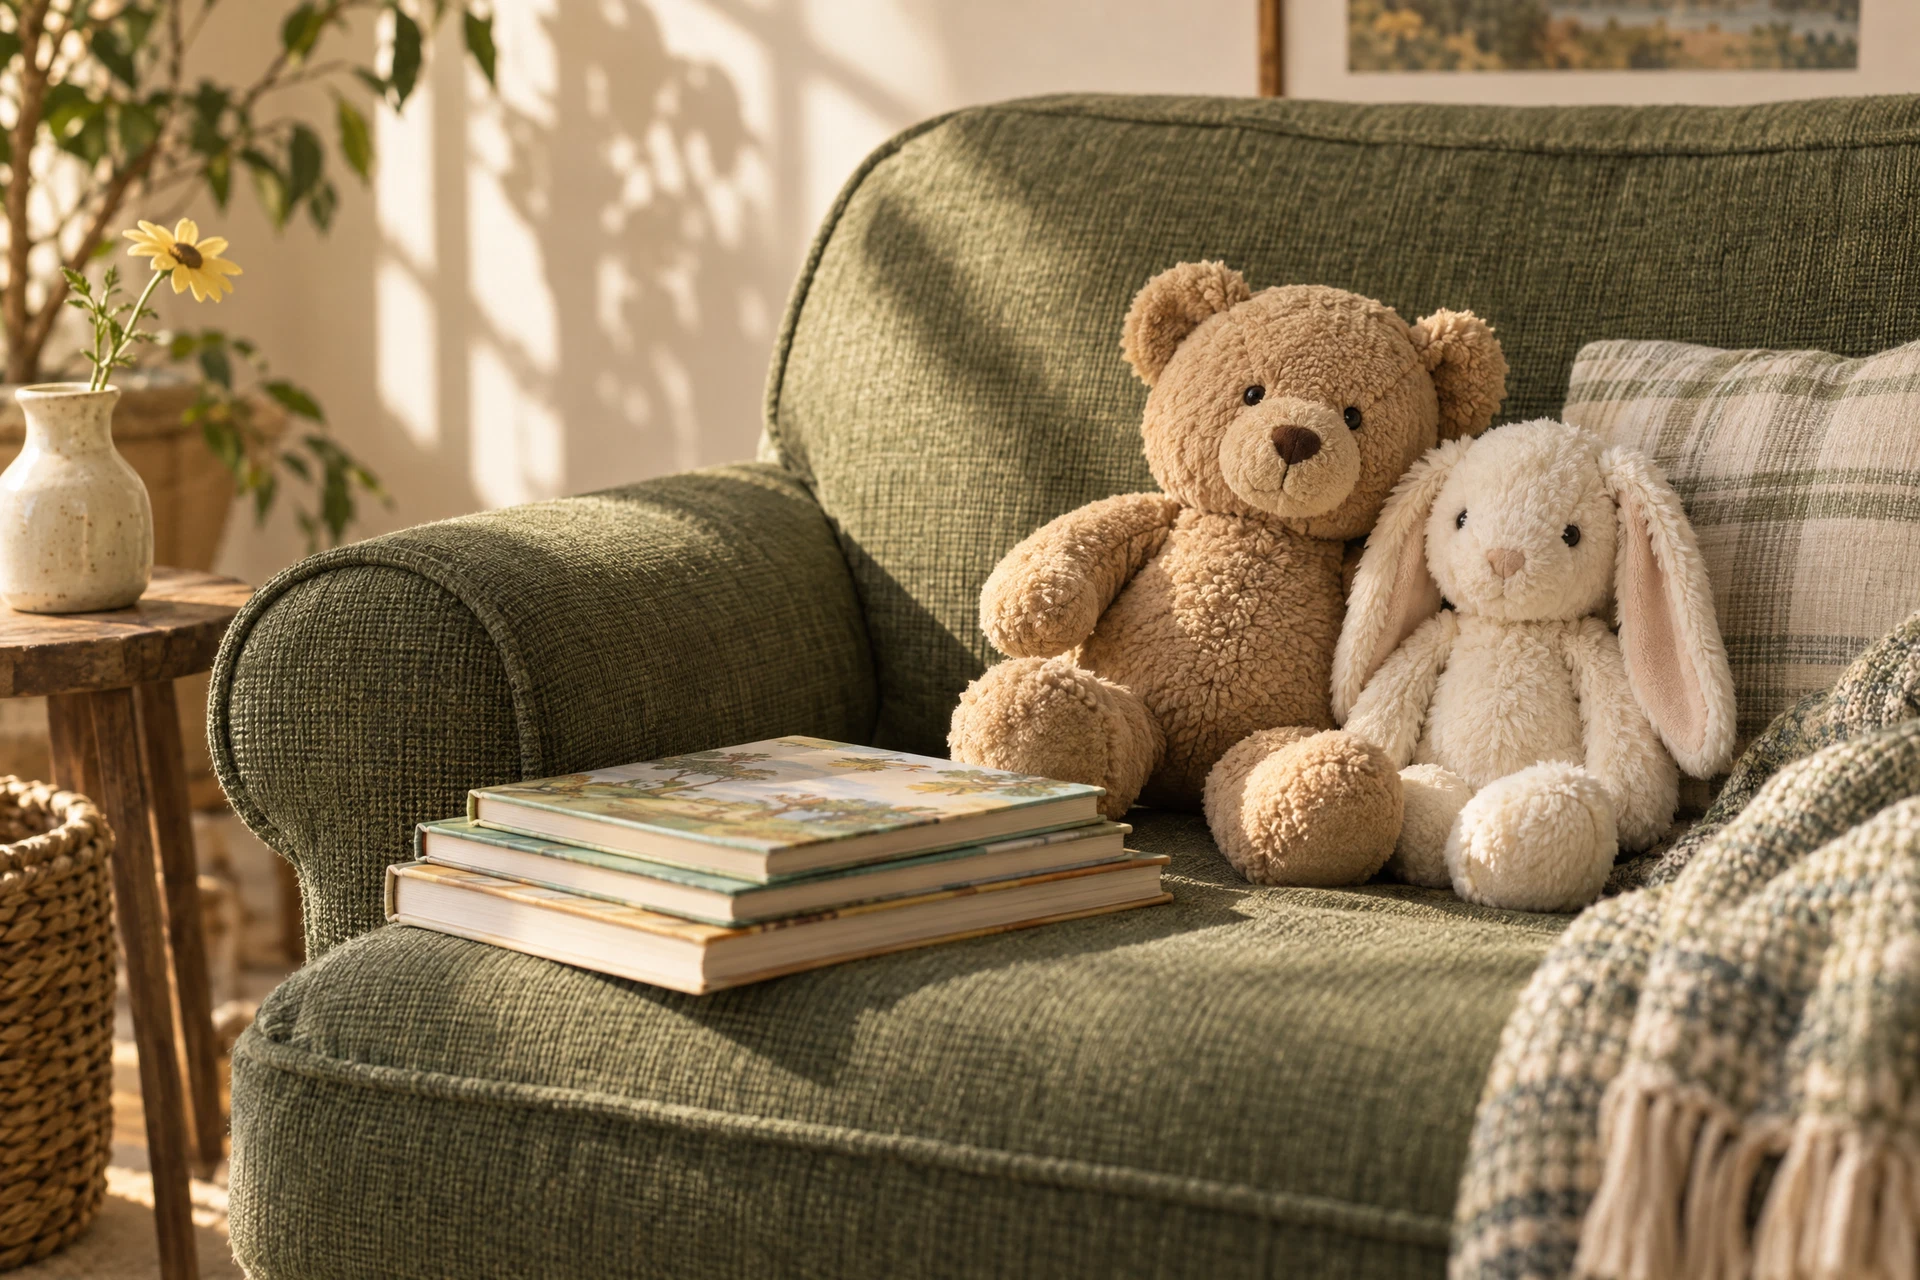
A plush care kit is a small, dedicated collection of supplies and simple instructions kept where stuffed animals live or are stored. It isn’t a medical kit or a substitute for following manufacturer guidance; instead it’s a practical drawer or box that makes routine upkeep quick and consistent. Because many soft toys are handled daily, having the right tools at hand reduces the risk that a minor tear or stain becomes a permanent problem.
This article focuses on what to include, how to decide between options, and the everyday routines that make maintenance manageable. Along the way you’ll find concrete checklists, common mistakes to avoid, and an actionable example for assembling a compact kit you can keep on a shelf or in a portable tote.
Basic checklist: what every plush care kit should contain
Start with a short list of universal items that cover the most frequent needs: a soft-bristled brush, a spot-cleaning solution (gentle, pH-balanced), a small pair of blunt-ended scissors, a needle and thread in neutral shades, a lint roller, and resealable plastic bags for separated items. These span cleaning, minor repairs and temporary storage—three categories that handle most regular situations.
A helpful way to build the checklist is to imagine three common scenarios: a grass stain after outdoor play, a loose seam after a tumble, and a temporary holding place for a damp toy. For each scenario, pick one or two tools from your kit that address it. This keeps the kit compact and ensures each item earns its place.
Cleaning tools and products: safe, targeted choices
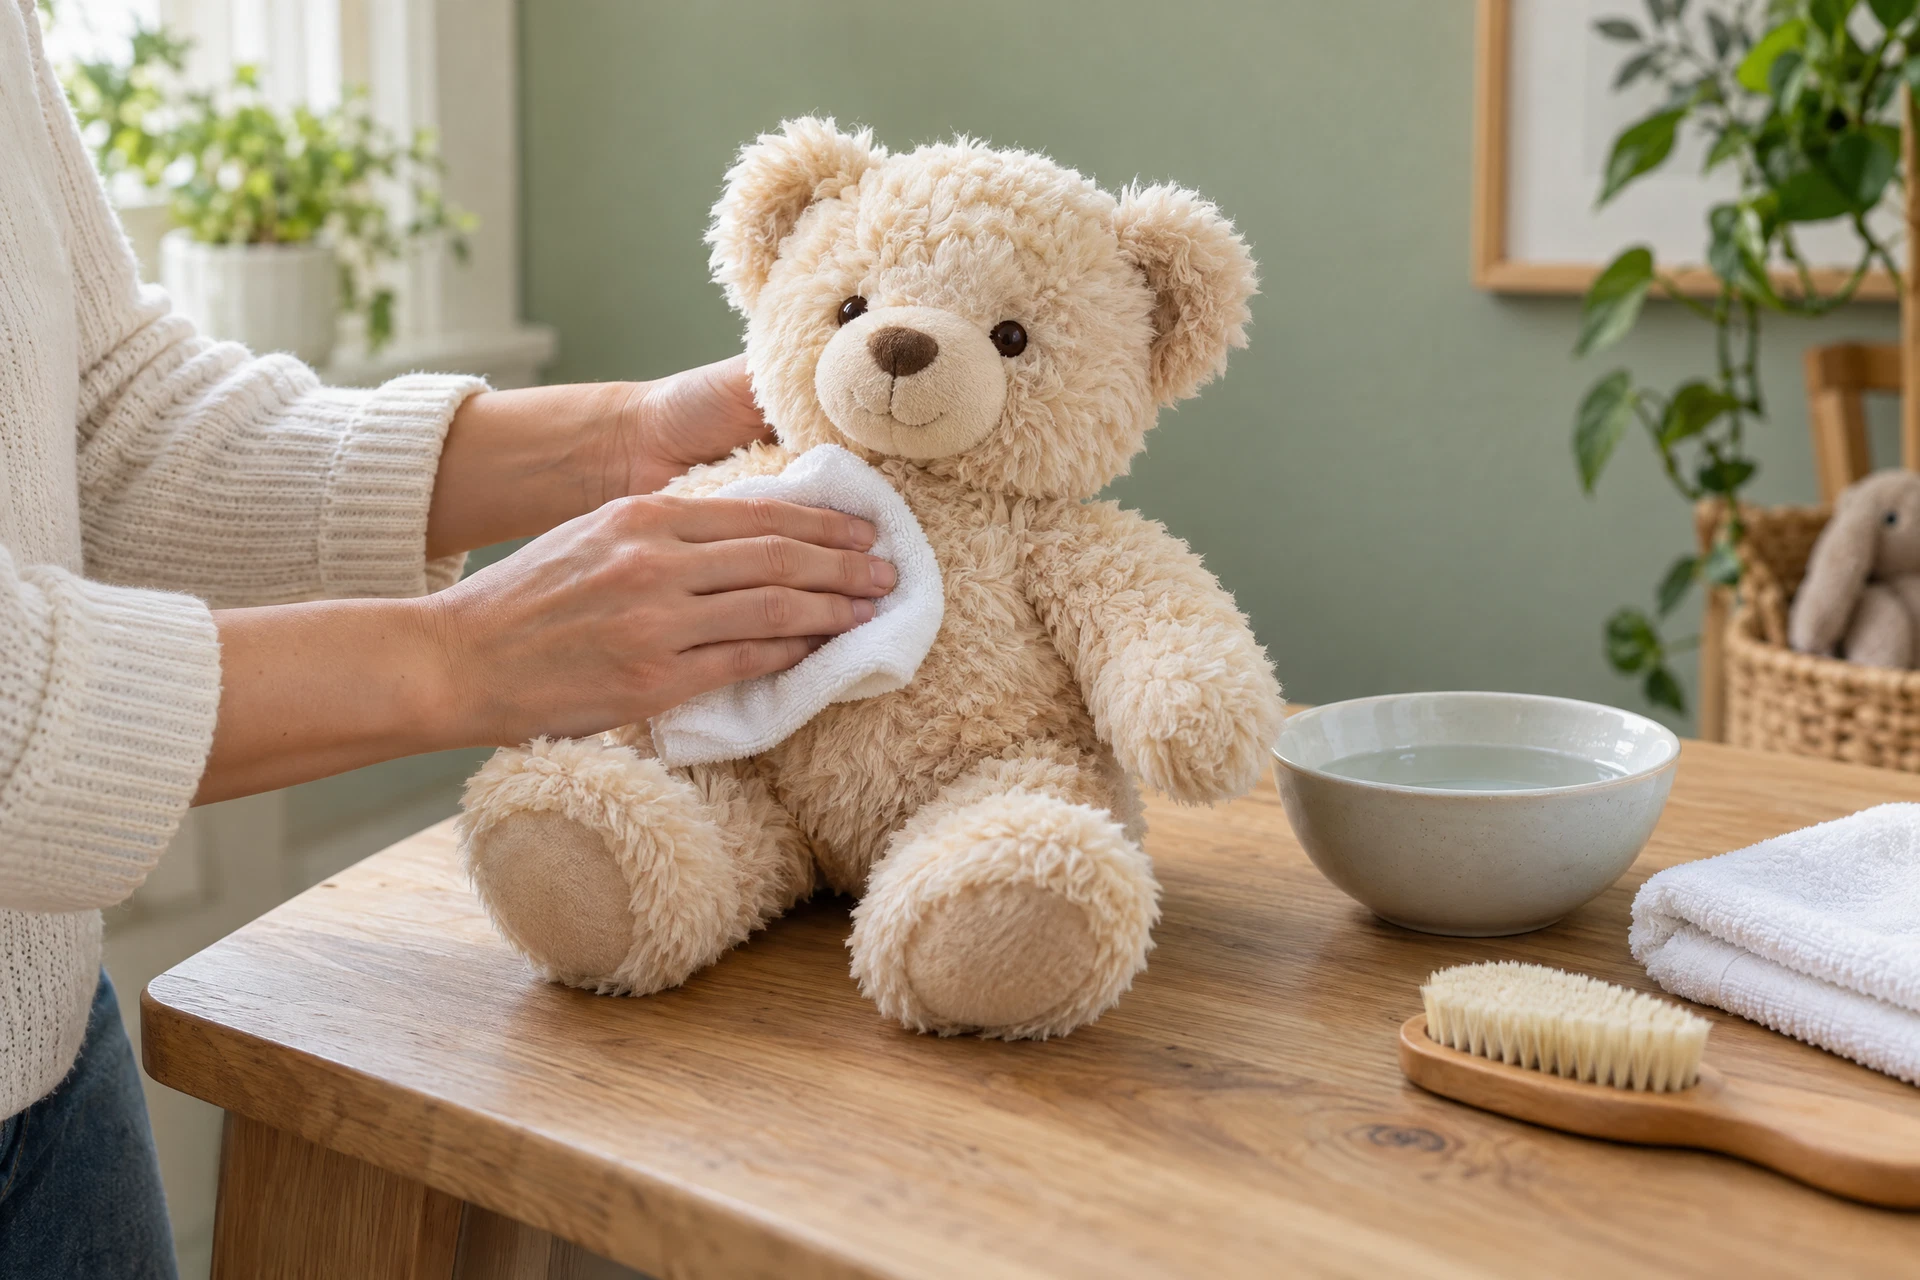
Cleaning decisions should start with the toy’s label: check manufacturer guidance and any care instructions before using liquid cleaners or immersion methods. For spot cleaning, a gentle, fragrance-free detergent mixed with cool water is usually the first choice. Place the cleaner on a white cloth and dab at stains—rubbing can push dirt deeper into fabric or fluff.
Choose a soft-bristled brush to lift dirt from plush fibers after they dry; use short, light strokes in the direction of the nap. A lint roller and a small suede brush are useful for removing surface lint and pet hair. If you prefer a commercial spot cleaner, pick one labeled safe for delicate fabrics and test it on an inconspicuous area first.
Sewing and repair kit: mending basics to prevent bigger damage
A modest sewing kit in your plush care kit should include two sizes of curved needles, polyester or cotton-filled thread in colors that match common plush shades, and a small pack of safety eyes/spare buttons if the original parts become loose. Curved needles are easier for getting into seams and working around rounded shapes; use a blunt-ended needle for child-safe repairs when reattaching parts near faces.
When repairing, work from the inside seam when possible: reinforce weak spots with small, even stitches and avoid over-tightening, which can puck fabric and stress adjacent seams. For stuffing loss, keep a small bag of hypoallergenic polyester fill on hand for top-ups. If a repair will be visible and you lack matching thread or skills, temporarily secure the area with a safety pin or fabric tape until a better fix is possible.
Storage and organization: preserving shape and cleanliness
Good storage reduces dust, sun fading and pest risk. Use breathable cotton bins for long-term storage, and clear resealable bags for short-term separation—for example, keeping a damp or recently cleaned toy apart from dry ones. Avoid vacuum-sealed compression for plush toys; compressing can flatten stuffing and change the toy’s feel.
Label containers with basic info: owner, last-cleaned date, and any special notes like “contains beads” or “wears delicate trim.” If you rotate toys seasonally, store off-season items in a cool, dry place and refresh their sit-down check with the care kit before returning them to play. For display pieces, a sealed cabinet or plexiglass case protects from dust and accidental spills.
Tools for safe handling: avoiding common maintenance mistakes
One frequent mistake is using household cleaners or bleach on plush without testing. Always test cleaners on a hidden spot and allow complete drying before returning a toy to use. Another error is tugging at loose seams instead of stabilizing the area with a small stitch first; that can widen the opening and spread the damage.
Keep scissors and sharp objects in a small, childproof section of the kit if children access it. Replace pins or needles that have bent or dulled to avoid snagging fabric. A small pair of blunt-nosed embroidery scissors or thread snips are safer around seams and avoid accidental cuts to fabric or filling.
Travel and portable kits: what to pack for outings
Scale your kit for portability: choose a compact plastic case or zippered pouch and limit contents to a few essentials—stain wipes, a tiny sewing kit, a lint roller, and a travel-size spray bottle for a mild cleaner. If you’re packing a beloved plush for a trip, include a small dedicated bag so the toy has its own clean space in luggage.
Include a short, written care note tucked inside the pouch with manufacturer label highlights and the last-cleaned date. This is handy for caregivers or when the toy is handled by others during travel. A portable kit keeps small emergencies from spoiling a trip and helps you address a problem immediately rather than letting it set.
Regular routines and checklists: short habits that prevent big jobs
Set a simple routine: a quick brush and lint-roller swipe once a week for frequently handled toys, a spot-check of seams monthly, and a seasonal deep clean or inspection. Use your kit to perform these tasks efficiently—tidy tools keep the chore short. A tiny logbook or checklist taped inside the kit lid records when you completed each task and what you used.
An actionable mini-example: after a week of play, take five minutes with the kit—brush the nap, remove hair with the lint roller, inspect seams, and stash the toy in a labelled bin overnight if it needs to air. This short habit prevents buildup of grime and catches small repairs before they worsen.
When to consult professionals and how to choose repair help
Some repairs or restorations are best left to professional conservators or specialty repair services—particularly for high-value or vintage pieces, or when inside components like electronics or weighted pellets are involved. If a maker’s label recommends professional service for certain fixes, follow that guidance and include the label’s notes in your kit so you can provide accurate details to a repairer.
When selecting a repair service, ask about experience with fabric types similar to your toy, request examples of past work, and clarify whether they return replaced parts like eyes or tags. If you provide a kit to a retail seller for repair questions, be clear about the original label’s care instructions and attach the toy’s last-cleaned date to speed diagnosis. For general product questions or assistance, see the store’s contact page at the contact page.
Resources and where to buy extra supplies
Most craft stores carry small sewing kits, polyester fill and mild fabric cleaners suitable for spot work. For toy-specific parts like replacement safety eyes or specialized stuffing, look at dedicated plush or craft collections—for example, many shops list bear-specific parts in their stuffed-animal sections at the Bears collection. If you’re buying for resale or a small retail program, review wholesale programs and terms carefully and direct questions to the retailer’s wholesale page for specifics at wholesale inquiries.
Keep a printed copy of your favorite how-to pages and a single-source supply list in the kit so restocking is quick. Also bookmark the shop care guidance page at our care guide and note any manufacturer instructions there; remember to always follow the label and verify recommendations before using a new product on a toy.
Explore the details before choosing
Take a closer look at Bears, review our plush and clothing care guidance, or ask about specifications and availability before making an order request.