Drying plush toys is as much about patience as technique. The fiber type, internal stuffing, and any sewn-on details influence how long and what method to use. A plush with glass eyes, glued embellishments, or dense stuffing needs a gentler, slower approach than a light, all-fabric toy. The care label is your primary guide; it will tell you whether tumble drying, air drying, or spot cleaning is recommended. When in doubt, choose the gentlest option that still addresses hygiene and appearance.
Airflow and drying environment matter more than heat for preserving shape and surface texture. Fast heat can collapse stuffing, shrink seams, or loosen glue. A steady, well-ventilated spot and time will usually produce the best results. This article focuses narrowly on the essential choices and steps for drying plush toys safely, presenting practical checklists, common mistakes, decision criteria, and a short, actionable example so you can handle everyday stains and refreshes with confidence.
Start with the care label: read, interpret, and prioritize
The care label is the first decision point for drying plush toys. Look for explicit notes such as "do not tumble dry," symbols for low heat, or instructions that the item should be laid flat. If the label forbids machine drying, treat that as a firm boundary. If it allows low heat tumble drying, you still need to weigh other factors like glued details or patches that heat can damage; when labels are ambiguous, default to cooler, slower methods.
When a label supplies only washing advice and nothing about drying, use the most conservative option compatible with the wash method. For example, if the toy is hand-washed, assume air drying unless the manufacturer states otherwise. Keep a small magnifying glass or phone camera handy to read faint symbols—care tags can fade. If a toy has no label, evaluate materials visually and choose air drying with airflow and gentle reshaping to minimize risk.
Airflow is the single most important factor
Good airflow removes moisture without relying on high temperatures. Place the toy in an open area with cross-ventilation rather than inside a closed drawer or near a radiator. A fan set to low-to-medium speed can accelerate drying without overheating. Position the toy so air can move around it—avoid laying it on a dense surface that traps moisture; instead use a wire rack or a clean towel on a ventilated shelf.
If you must dry multiple toys at once, give each piece several inches of breathing room. Stacking or crowding slows drying and can encourage mildewy smells. For small toys, a mesh laundry bag hung in a well-ventilated area keeps them upright and exposed to air, while larger items benefit from gentle rotation every few hours to expose different sides to the airflow.
Temperature choices: when low heat is okay and when it's not
Low heat can shorten drying time, but heat affects more than moisture—it can soften glue, shrink fibers, and change the toy’s hand. Use low, brief heat only when the label explicitly allows it and the toy has no glued-on eyes, sequins, or heat-sensitive trims. Even then, choose short cycles or a dryer on "air fluff" with intermittent checks rather than continuous heat.
For hand-centered drying that benefits from gentle heat, set a fan near a sunny window rather than placing the toy in direct sun for long stretches; UV can fade colors and stiffen fibers. If you use a hairdryer, keep it on a low setting and maintain distance, moving continually to avoid focusing heat in one spot. Always monitor closely when heat is in play—if a seam tightens, fur looks matted, or the glue softens, stop immediately.
Shaping and stuffing: preserve form while drying
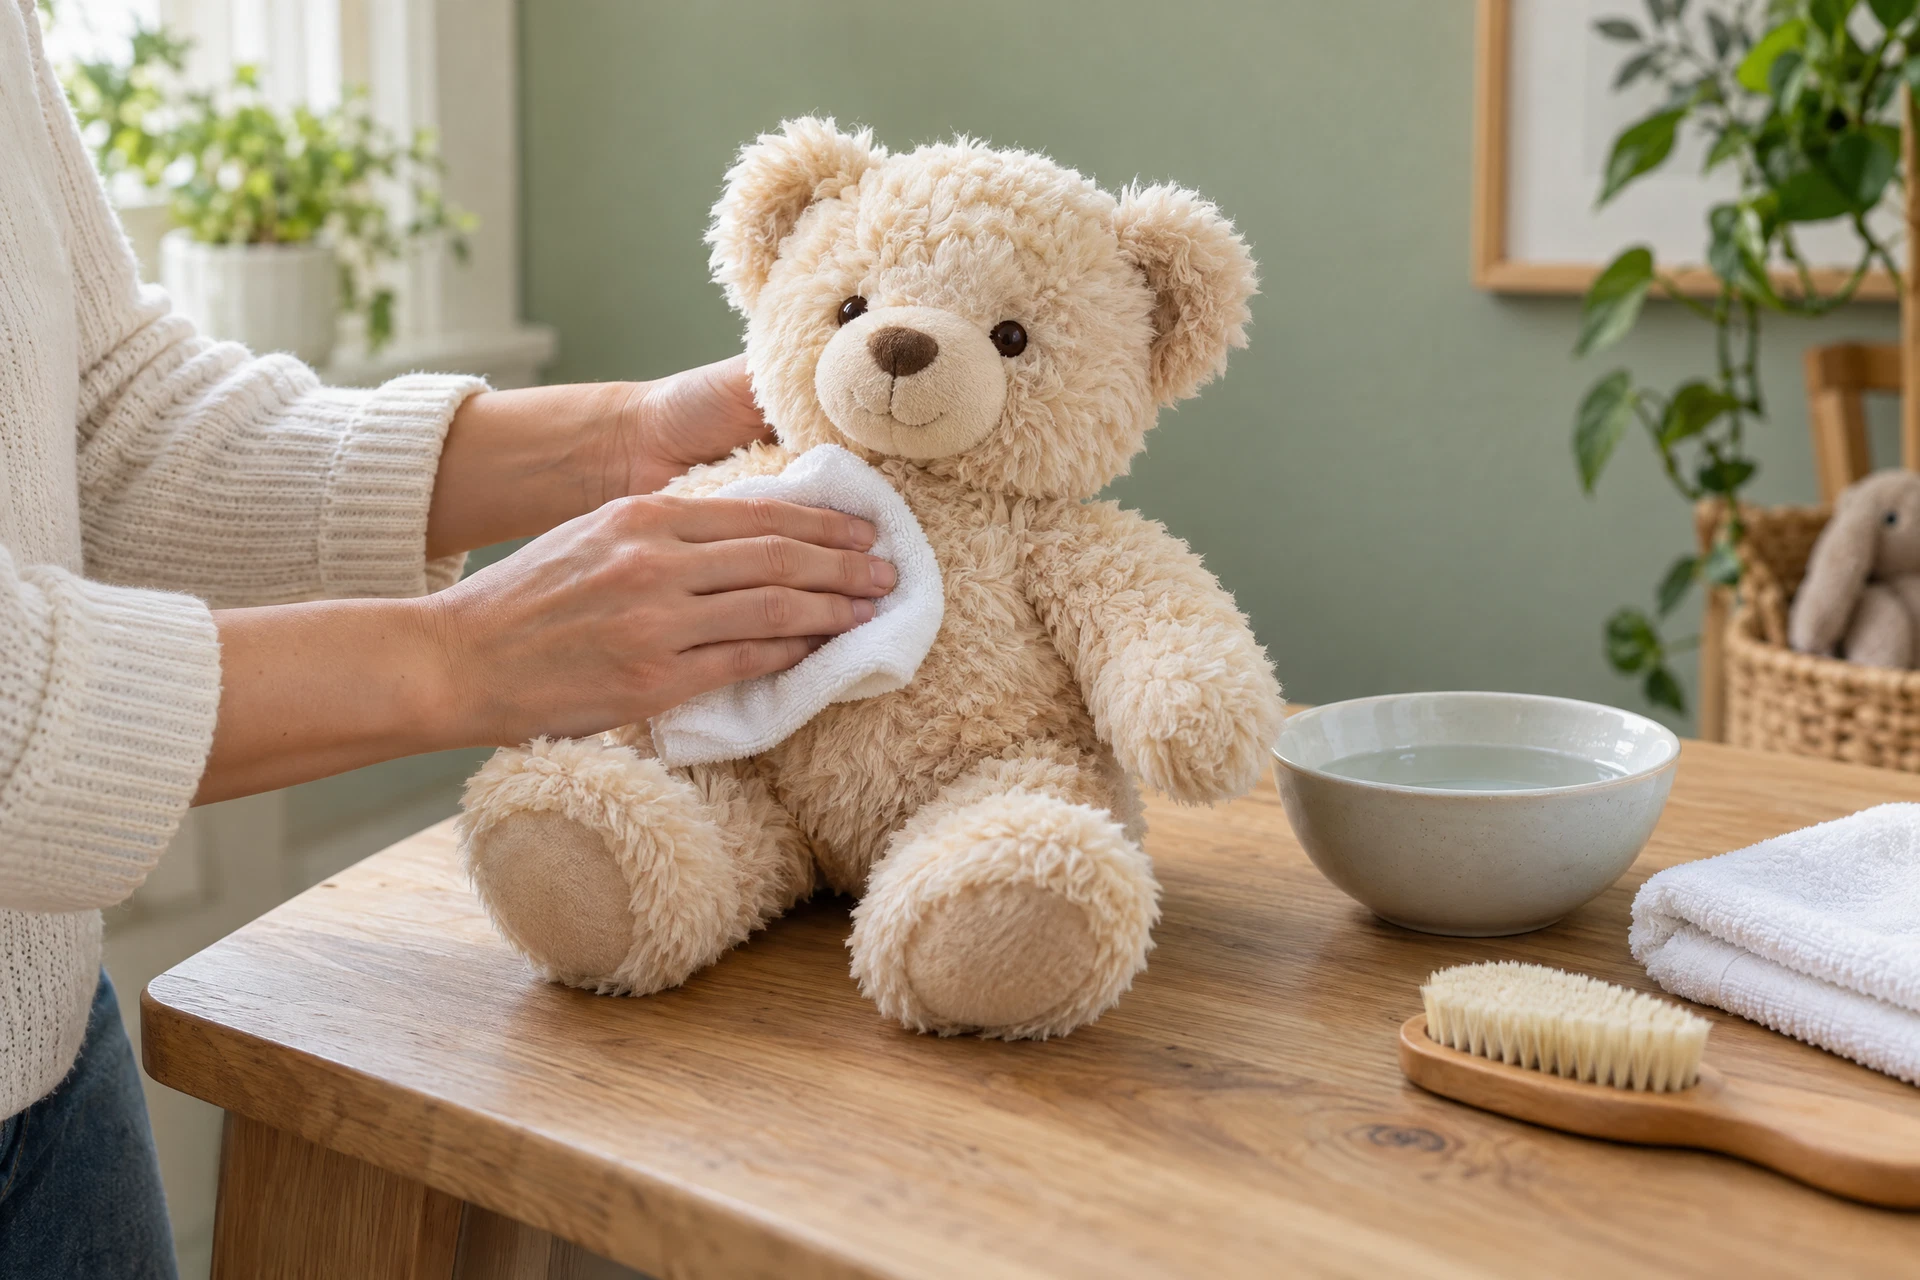
After washing, gently press out excess water with a towel—avoid wringing, which can distort stuffing and seams. Reshape the toy before it fully dries: align limbs, smooth fur, and restore facial features while the filling is still pliable. For plush with uneven stuffing, redistributing the filling by massaging the toy helps it dry uniformly and keeps the silhouette correct.
If a toy loses loft during drying, you can gently fluff it by hand or use measured, light squeezes once the toy is mostly dry. For toys with removable stuffing or washable inner bags, take advantage of that feature to dry the shell and insert separately, ensuring each component dries fully before recombining. Keep a checklist of reshape-press-fluff steps to repeat across different types of plush during routine care.
Common mistakes to avoid
A frequent error is using high heat to speed up drying. This can damage fibers, melt trims, and shrink components—creating long-term problems that outweigh time saved. Another common mistake is insufficient airflow: leaving wet toys in piles or closed containers encourages odors and mold. Finally, skipping the care label and assuming machine drying is fine often causes avoidable damage; always verify labeling first.
Also avoid over-drying. Leaving a toy in direct sun or a hot dryer past the point of dryness can result in brittle fur or stiff seams. Over-manipulation while wet—twisting or aggressive wringing—can cause permanent misshaping. Keep a written routine to prevent rushed or repeated mistakes: check label, towel-press, shape, place in airflow, rotate, and finish with gentle fluff.
Practical tools and setups that help
Assemble a small drying kit to speed future projects: two clean microfiber towels for pressing, a collapsible wire rack for elevated drying, a clip-on fan with variable speed, and a soft-bristled brush for final fluffing. A drying kit simplifies decisions and prevents improvisation that can damage toys. Store the kit near your laundry area so it's available as soon as the wash is finished.
If you need a temporary stand for a plush with a rounded base, use a small bowl or inflated beach ball under a towel to support the shape while air circulates beneath. For upright toys, a coat hanger covered with a soft sleeve lets gravity help drain moisture away from seams. These low-cost, low-tech setups reduce contact points where dampness lingers and promote even drying.
Decision checklist: choosing a drying method quickly
Use this quick checklist to decide: 1) Read the care label—any "no tumble dry" instruction means air dry; 2) Inspect trims—glue or delicate elements favor cool airflow; 3) Consider filling—dense stuffing benefits from rotation and low heat only if permitted; 4) Time available—if you have 24–48 hours, air drying with good airflow is safest. This simple filter will help you pick a method that balances speed and safety.
Add a follow-up checklist to ensure completion: check for damp spots at 12-hour intervals, rotate the toy every few hours for even drying, and only return the toy to normal use after the inside is fully dry to avoid trapped moisture. If odors remain after drying, a brief airing outdoors or overnight with silica packets placed nearby can help—test a small area first to make sure no sun-fade occurs.
A short actionable example: a small hand-washed plush
Example: you hand-washed a small plush with sewn eyes and a soft pile. Step 1—Towel-press: lay the toy on one microfiber towel, roll gently, and press to remove excess water. Avoid twisting. Step 2—Reshape: smooth fur, align limbs, and restore facial features while slightly damp. Step 3—Elevate and ventilate: place on a wire rack set in a room with a low-speed fan angled for cross-breeze. Step 4—Rotate: every 3–4 hours, flip the toy so all sides receive airflow.
Step 5—Check for internal dampness: after 12–16 hours, squeeze gently at seams and check inside for residual coolness. If damp, continue drying; if mostly dry, finish by brushing the pile with a soft brush to restore texture. This sequence keeps heat out of the process, protects the sewn eyes, and provides measurable checkpoints so you don’t rush the final outcome.
When to consult care professionals or contact the retailer
If a plush has complicated construction—electronic components, glued accessories, or layered materials—ask a professional cleaner or consult the retailer for recommended care steps. Use the store contact options when the label is missing or you suspect internal components have been compromised. For general product care topics, check the store’s care information pages such as our care guide and consider reaching out via the contact page for specific concerns.
Retailers that offer collections of similar items can also advise on fabric-specific practices; for example you might view related shapes in the the Bunnies collection section to compare construction and labels. If you are exploring larger purchases for resale, visit the wholesale inquiries page to learn what documentation and labeling practices you should expect from suppliers before you buy.
Explore the details before choosing
Take a closer look at Bunnies, review our plush and clothing care guidance, or ask about specifications and availability before making an order request.